

Hey there! If you're into construction or DIY projects, you've probably come across the need to attach angle iron to concrete at some point. I'm an angle iron supplier, and I've seen firsthand how crucial it is to get this process right. In this blog, I'll share some tips and tricks on how to attach angle iron to concrete like a pro.
Why Angle Iron?
First off, let's talk about why angle iron is such a great choice for various applications. Angle iron is a versatile and durable steel product that comes in different sizes and thicknesses. It's commonly used in construction for framing, support structures, and bracing. Its L-shaped design provides excellent strength and stability, making it ideal for attaching to concrete surfaces.
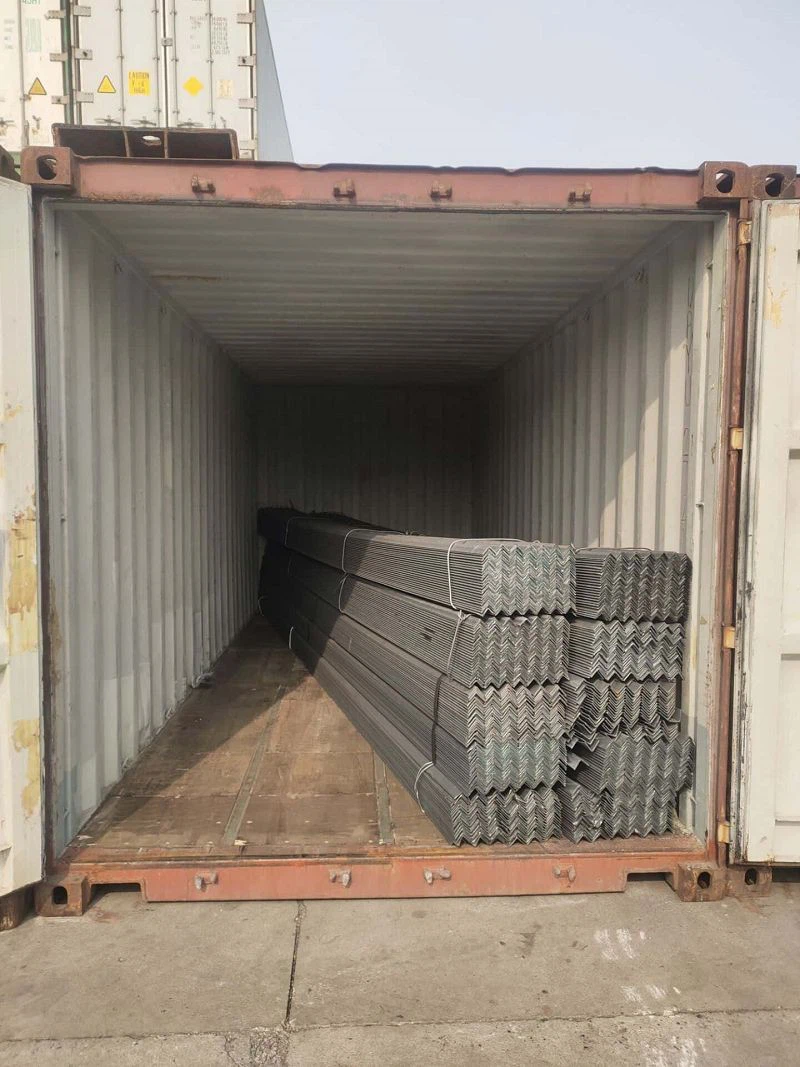

One of the great things about angle iron is its affordability. It's a cost-effective solution compared to other types of steel profiles, making it a popular choice for both professional contractors and DIY enthusiasts. Plus, it's relatively easy to work with, whether you're cutting, drilling, or welding it.
Tools and Materials You'll Need
Before you start attaching angle iron to concrete, you'll need to gather the right tools and materials. Here's a list of what you'll typically need:
- Angle Iron: Of course, you'll need the angle iron itself. You can choose from different types, such as Black Powder Coated Angle Iron, which offers added protection against rust and corrosion.
- Drill: A good quality drill is essential for making holes in the concrete and angle iron. Make sure you have the right drill bits for the job. For concrete, you'll need masonry drill bits, and for angle iron, you can use regular metal drill bits.
- Hammer Drill: If you're working with thick or hard concrete, a hammer drill can make the drilling process much easier. It uses a hammering action to break through the concrete more efficiently.
- Screws or Bolts: You'll need screws or bolts to secure the angle iron to the concrete. The size and type of screws or bolts you choose will depend on the thickness of the angle iron and the load it will be supporting.
- Washers and Nuts: Washers help distribute the load evenly and prevent the screws or bolts from pulling through the angle iron. Nuts are used to secure the bolts in place.
- Level: A level is important to ensure that the angle iron is installed straight and level. This will help prevent any uneven stress on the structure.
- Safety Gear: Don't forget to wear safety gear, such as safety glasses, gloves, and a dust mask. Drilling into concrete can create a lot of dust and debris, so it's important to protect yourself.
Preparing the Concrete Surface
The first step in attaching angle iron to concrete is to prepare the concrete surface. This involves cleaning the surface and marking the locations where you'll be drilling the holes.
- Clean the Surface: Use a wire brush or a pressure washer to clean the concrete surface. Remove any dirt, dust, or debris that could interfere with the adhesion of the angle iron.
- Mark the Holes: Use a measuring tape and a pencil to mark the locations where you'll be drilling the holes. Make sure the holes are evenly spaced and aligned with the holes in the angle iron.
- Drill the Holes: Use a drill or a hammer drill to drill the holes in the concrete. Start with a small drill bit and gradually increase the size until you reach the desired diameter. Make sure the holes are deep enough to accommodate the screws or bolts.
Attaching the Angle Iron
Once you've prepared the concrete surface and drilled the holes, it's time to attach the angle iron. Here's how to do it:
- Position the Angle Iron: Place the angle iron on the concrete surface and align the holes in the angle iron with the holes in the concrete. Use a level to make sure the angle iron is straight and level.
- Insert the Screws or Bolts: Insert the screws or bolts through the holes in the angle iron and into the holes in the concrete. Make sure the screws or bolts are tightened securely, but don't overtighten them, as this could damage the concrete or the angle iron.
- Add Washers and Nuts: If you're using bolts, add washers and nuts to the bolts and tighten them securely. The washers will help distribute the load evenly and prevent the bolts from pulling through the angle iron.
- Check the Alignment: Once the angle iron is attached, use a level to check the alignment again. Make any necessary adjustments to ensure that the angle iron is straight and level.
Alternative Methods
In addition to using screws or bolts, there are other methods you can use to attach angle iron to concrete. Here are a few alternatives:
- Welding: If you have the skills and equipment, you can weld the angle iron to the concrete. This method provides a strong and permanent connection, but it requires more expertise and equipment.
- Epoxy Adhesive: Epoxy adhesive can be used to bond the angle iron to the concrete. This method is suitable for light to medium loads and is relatively easy to apply. Make sure you choose an epoxy adhesive that is specifically designed for use with concrete and metal.
- Mechanical Anchors: Mechanical anchors, such as expansion bolts or concrete nails, can also be used to attach angle iron to concrete. These anchors work by expanding or gripping the concrete to provide a secure connection.
Tips and Tricks
Here are some additional tips and tricks to help you attach angle iron to concrete successfully:
- Use the Right Size: Make sure you choose the right size of angle iron and screws or bolts for the job. Using the wrong size can compromise the strength and stability of the structure.
- Pre-Drill the Holes: Pre-drilling the holes in the angle iron can make it easier to align the holes with the holes in the concrete and prevent the angle iron from cracking or splitting.
- Apply a Sealant: After attaching the angle iron, you can apply a sealant to the joints to prevent water and moisture from seeping in and causing rust and corrosion.
- Test the Connection: Before using the structure, test the connection to make sure it's secure. Apply some pressure or weight to the angle iron and check for any signs of movement or instability.
Conclusion
Attaching angle iron to concrete is a relatively straightforward process, but it requires the right tools, materials, and techniques. By following the steps outlined in this blog, you can ensure that your angle iron is attached securely and safely. Remember, if you have any questions or need further assistance, don't hesitate to contact me. I'm an angle iron supplier, and I'm here to help you with all your angle iron needs. Whether you're a professional contractor or a DIY enthusiast, I can provide you with high-quality angle iron and expert advice. So, if you're looking to purchase angle iron for your next project, feel free to reach out and let's start a conversation about your requirements.
References
- "Construction Materials: Properties, Uses, and Performance" by David M. Newman
- "DIY Home Improvement Handbook" by John Doe